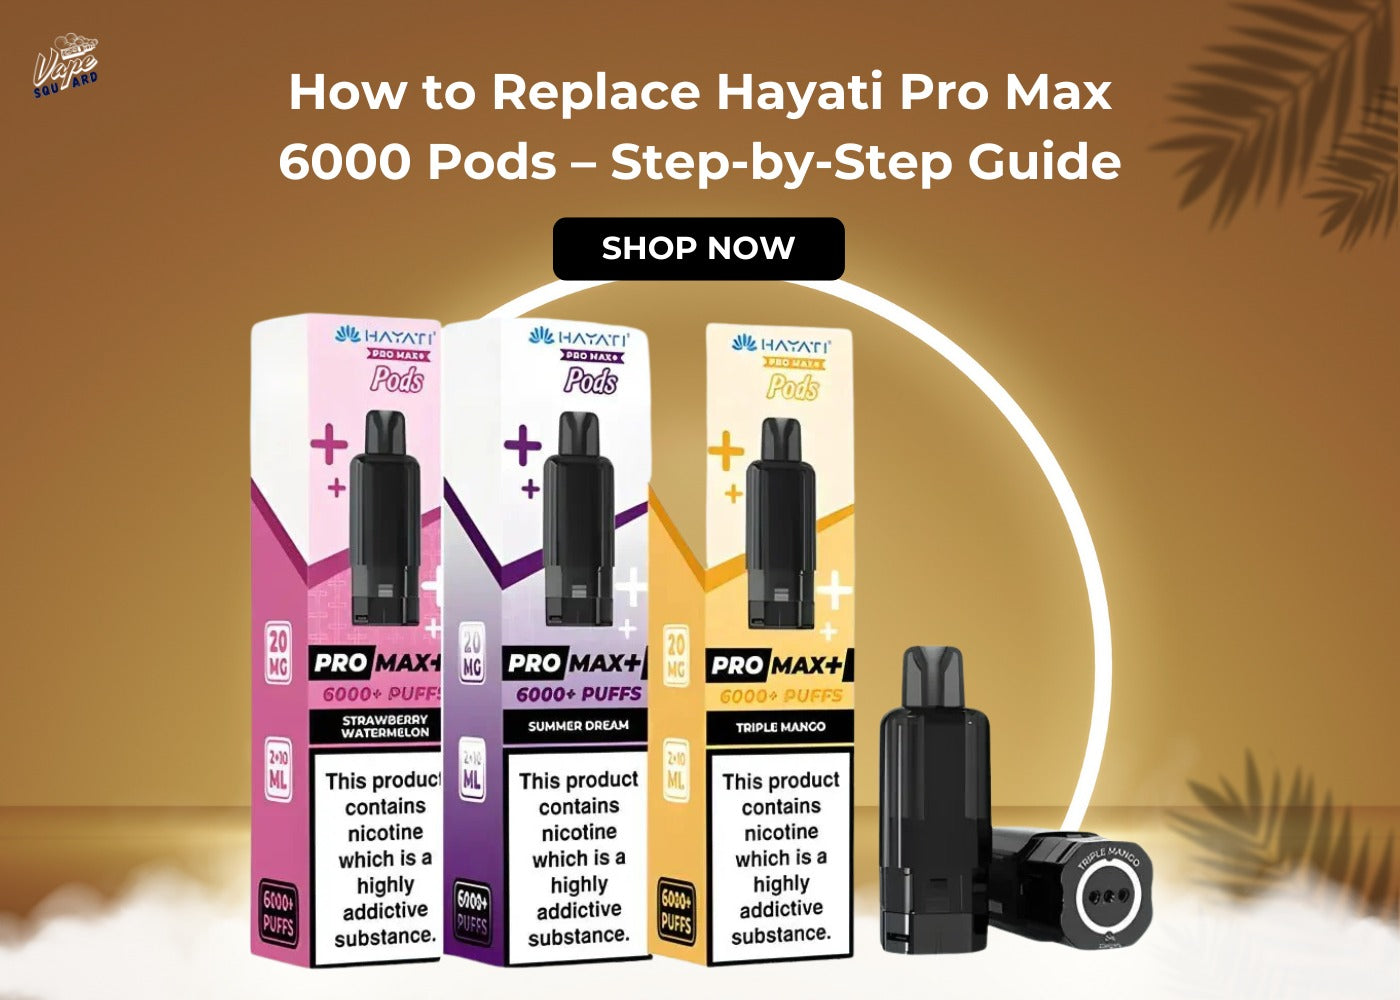
How to Replace Hayati Pro Max 6000 Pods – Step-by-Step Guide
Even the most reliable pod-based vape device needs regular maintenance, and the Hayati Pro Max 6000 is no exception. When the pre-filled pod reaches the end of its natural pod lifespan, changes in flavour delivery and vapour production are often the first signs that a pod replacement is required.
This guide is designed for users who want clear, practical instructions on how to replace Hayati Pro 6k pods without damaging the device or affecting performance. It explains the process in simple steps, focusing on correct pod compatibility, safe handling, and proper installation to prevent issues such as burnt taste, leaking, or the device not detecting the pod.
By following this step-by-step approach, you can keep your Hayati Pro 6k prefilled pod system working as intended and ensure consistent performance with every replacement.

How to Replace Hayati Pro Max 6000 Pods (Step-by-Step)
Replacing pods on the Hayati Pro Max vape device is part of normal device maintenance and helps restore consistent vapour production and flavour delivery. Following the correct replacement process also reduces the risk of leaking, burnt taste, or device detection issues.
Step 1 – Remove the Old Pod Safely
Switch the device off if applicable and hold it securely. Grip the pre-filled pod at the base where it connects to the device and pull it straight out using a steady motion. Avoid twisting the pod, as this can affect the magnetic pod connection and cause unnecessary wear.
Step 2 – Inspect the Device Contacts
With the pod removed, examine the device contacts for condensation or e-liquid residue. Light moisture buildup is common during regular use. If needed, gently clean the contact area with a dry, lint-free cloth to help prevent misfiring and ensure the device recognises the new pod correctly.
Step 3 – Insert the New Pod Correctly
Take a compatible Hayati 6k replacement pod, remove the sealing stickers from the contacts, and align it with the pod slot. The magnetic connection will guide it into position. Press gently until the pod sits securely with a firm, click-fit feel. Avoid forcing the pod, as incorrect alignment may lead to poor vapour output or pod leakage.
Step 4 – Allow the Pod to Settle
After installation, allow the new pod to rest for a short time before vaping. This step helps the coil fully saturate with e-liquid and reduces the chance of dry or burnt hits, even with pre-filled pod systems. Proper settling supports smoother performance from the first puff.

What Are Common Problems When Replacing Hayati Pro Max 6000 Pods?
- Using incompatible pods can cause poor fit, weak vapour output, or the device failing to detect the pod. Always use a replacement pod designed for the Hayati Pods system.
- Vaping immediately after inserting a new pre-filled pod may result in a burnt or dry taste, as the pod coil needs time to absorb the e-liquid properly.
- Ignoring condensation or e-liquid residue on the device contacts can lead to misfiring or inconsistent performance. Checking and cleaning the contacts helps maintain a reliable connection.
- Overhandling the pod mouthpiece can introduce moisture or debris, affecting airflow and hygiene. Handling the pod only when necessary supports smoother operation after replacement.
When Should You Replace a Hayati Pro 6k Pod?
Understanding when a pod needs replacing helps maintain smooth performance and consistent flavour. One of the earliest signs is a burnt or muted taste, which usually means the internal coil inside the Hayati pod is no longer heating e-liquid evenly.
A noticeable drop in vapour output can also indicate that the replacement pod is nearing the end of its usable life.
As the pre-filled pod moves through its normal usage cycle, issues such as leaking or gurgling may begin to appear. These changes suggest natural wear within the pod structure and are clear indicators that it’s time to change the pod.
The lifespan of Hayati Pro Max replacement pods varies depending on usage habits. Factors such as puff frequency, chain vaping, and storage conditions can significantly affect how long a pod lasts. Replacing the pod when performance starts to decline helps ensure reliable flavour delivery and consistent vapour production.
Troubleshooting After Pod Replacement
If problems occur after replacing pods on the Hayati Pro Max device, they are usually linked to pod installation, contact alignment, or normal condensation buildup rather than a defective pod. The checks below help restore proper vapour production and flavour delivery quickly.
- No vapour output: Ensure the pre-filled replacement pod is fully seated and aligned with the magnetic pod connection. A loose fit can prevent the draw-activated system from engaging.
- Weak or muted flavour: This often means the pod coil hasn’t fully absorbed the e-liquid. Allow the Hayati pro 6k prefilled pod to settle briefly after installation, especially after a fresh change.
- Leaking after installation: Leaks can occur if the pod isn’t seated evenly or if excess condensation is present. Remove the pod, wipe the connection area, and reinsert it securely to restore a proper seal.
- Device not detecting the pod: If the device fails to recognise the Hayati 6k pod, inspect the device contacts for moisture or residue. Cleaning the contacts and confirming pod compatibility usually resolves detection issues.
Addressing these common issues ensures smoother operation and consistent performance after replacing Hayati 6000 replacement pods.

Final Tips to Extend Hayati 6k Pod Life
Extending the life of Hayati 6000 pods comes down to simple daily habits that support consistent performance. Proper storage is important; keeping the device upright and away from excessive heat helps preserve e-liquid quality and reduces the risk of leakage or coil damage.
Puff pacing also plays a key role in pod longevity. Taking steady, spaced puffs rather than frequent chain vaping allows the pod coil to cool between uses, which helps maintain smooth flavour delivery and stable vapour output.
To avoid dry hits, always allow a new Hayati 6k prefilled pod to settle after installation and stop vaping when flavour begins to fade. Following basic pod care habits, such as keeping the device clean and handling pods carefully, helps ensure reliable performance and longer-lasting pod use.
Frequently Asked Questions
How do you know when a Hayati Pro Max prefilled pod is finished?
A Hayati Pro Max pod is usually finished when there is a consistent drop in flavour quality or vapour output. A burnt or dull taste is a common sign that the internal coil has worn out. In some cases, increased gurgling or minor leaking can also indicate that the pod has reached the end of its usable life.
Can you replace the pods on the Hayati 6K device?
Yes, the Hayati 6k pod is designed to work with replaceable pre-filled pods. Once a pod completes its usage cycle, it can be removed and replaced with a compatible Hayati 6k replacement pod, allowing the device to continue working without needing to be replaced.
Why does my new Hayati Pro Max pod taste burnt?
New Hayati Pro Max 6k pods may taste burnt if the coil has not had enough time to absorb the e-liquid. Even with pre-filled pods, allowing the pod to settle after installation helps prevent dry hits. Vaping too quickly after inserting the pod or chain vaping early on can also cause this issue.
How long do Hayati Pro Max 6000 pods last?
The lifespan of Hayati Pro Max 6000 pods depends on usage habits rather than a fixed timeframe. Puff frequency, chain vaping, and storage conditions all affect how long a pod lasts. Most users replace pods when flavour delivery or vapour production noticeably declines, which is a normal part of pod wear.